
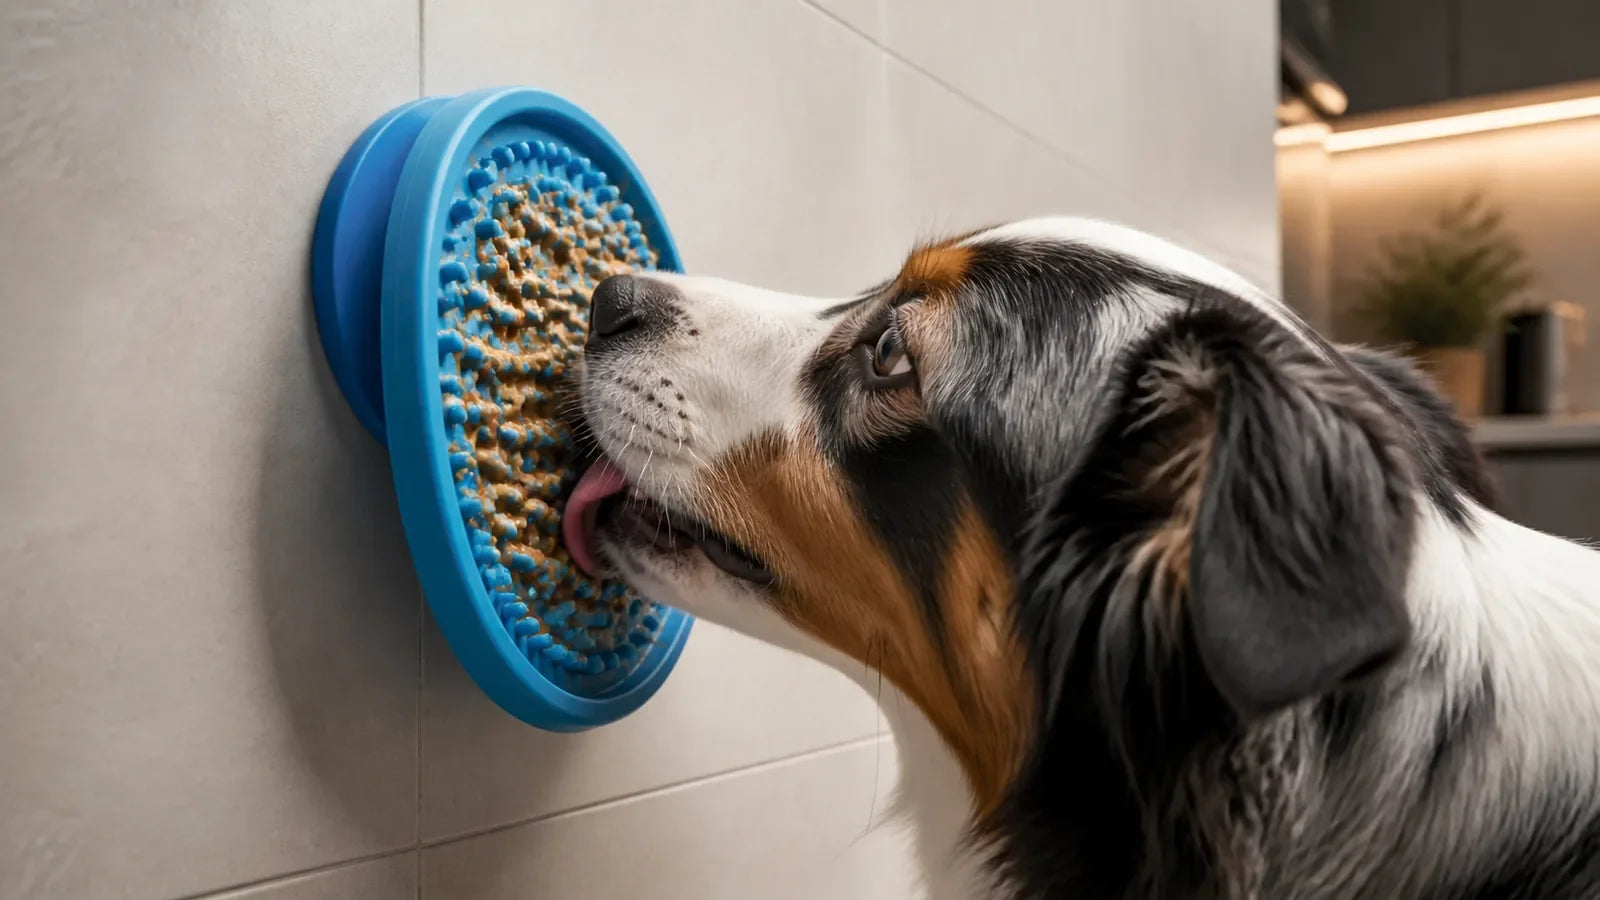
Suction cups depend on an airtight seal. The feeder may be perfectly fine even when a porous or textured floor refuses to cooperate.
Choose smooth and non-porous
Clean tile, sealed stone, glass, and some smooth laminates usually provide the best hold. Grout lines, rough concrete, fabric, and heavily textured floors allow air under the cup.
Clean both sides
Dust, oil, and dried food break the seal. Wipe the surface and suction cups, rinse away soap, and dry them. A tiny film of clean water can help some cups seat evenly.
Test before serving
Press each cup firmly and give the feeder a gentle sideways nudge. If it moves, relocate it to a better surface or place it on a stable tray with a non-slip base.
Quick checklist
- Avoid attaching suction cups to delicate painted finishes.
- Release the edge gently instead of pulling the feeder straight up.
- Inspect cups for warping or tears.
A better pace
Good suction is a partnership between the cup and the floor. Smooth, clean, and flat wins.
Plan the session before you begin
At the heart of Best Surfaces for Suction-Cup Pet Feeders is a straightforward goal: where suction works, where it does not, and how to get a cleaner hold. A useful food-based enrichment session should be easy for your pet to understand and realistic for you to repeat. Before you begin, decide what a small success will look like. It might be thirty seconds of calm investigation, one comfortable handling step, or a short search that ends before interest fades. A modest target makes it easier to protect confidence and notice meaningful progress.
Measure the food before it reaches the feeder, use a stable washable surface, and choose a texture your pet already handles comfortably. Prepare the full environment first so you are not leaving your pet mid-session to find a towel, spoon, gate or cleaning brush. Keep other animals and household traffic out of the area when they could add pressure. If food is involved, reserve the portion from a normal meal whenever possible. This keeps the activity focused on experience and pacing rather than simply increasing calories.
A practical five-step routine
- Start with familiar information. Let your pet see and smell the setup without pressure to interact. Familiar food, a known mat or a usual cue can make the first seconds easier to read.
- Offer the simplest version. For this topic, use a thinner spread, a smaller area and a familiar room. Easy is not a wasted level; it tells your pet how the activity works and gives you a clean baseline.
- Stay close and observe. Look for loose posture, voluntary re-engagement and steady movement. Fast, frantic action is not automatically better engagement.
- Change one detail at a time. When the easy version is consistently comfortable, you can increase texture or chilling gradually without adding a larger portion. Changing several variables at once makes it difficult to know what helped.
- Finish and reset. Use a consistent ending, pick up food-contact equipment, clean the area and allow quiet rest. A clear finish prevents access turning into chewing or competition.
Common mistakes to avoid
The most common mistake is making the activity harder because it looks too easy to a person. Pets do not need constant novelty or maximum duration to benefit. Another mistake is using a very large food portion to hold attention. Texture, placement and scent can extend an activity without adding more. Finally, avoid treating refusal as stubbornness. Walking away, freezing, scratching at the setup, vocalizing or switching from licking to forceful chewing can all mean that the task, environment or timing needs to change.
- Do not introduce the activity when your pet is already highly aroused or exhausted.
- Do not leave food-contact or chewable materials available after the supervised session.
- Do not compare speed or enthusiasm between pets; comfortable engagement looks different for each individual.
How to tell whether it is working
Progress is best measured through quality, not minutes. Notice whether your pet approaches willingly, maintains a comfortable body position and can disengage without distress. A short session with relaxed behavior is more useful than a long session filled with repeated frustration. Keep a brief note about the location, food or materials used, approximate duration and the moment you decided to stop. After several sessions, those notes reveal patterns that memory often misses.
Read every ingredient label, count toppers within the daily food plan, refrigerate perishable ingredients promptly, and follow veterinary guidance for allergies or therapeutic diets. If a previously comfortable routine suddenly becomes difficult, consider changes in the environment as well as changes in your pet. Noise, a slippery surface, another animal nearby or a different food texture may explain the response. Sudden pain, appetite loss, weakness or marked behavior change deserves veterinary attention rather than another enrichment adjustment.
Frequently asked questions
How long should a session last?
There is no universal target. Begin with a few successful minutes or less, especially for a new setup. End while your pet is still comfortable, then use the next session to decide whether a small increase makes sense.
How often should I repeat it?
Repeat familiar activities often enough that the rules stay clear, but rotate the details when interest fades. Daily use can suit some simple feeding routines; more demanding training or care practice may work better in very short sessions several times a week.
When should I stop?
Stop if the equipment is damaged, food becomes unsafe, your pet tries to swallow non-food material, or body language shifts toward fear or escalating frustration. Calmly remove the setup, reset the environment and return later with an easier version.